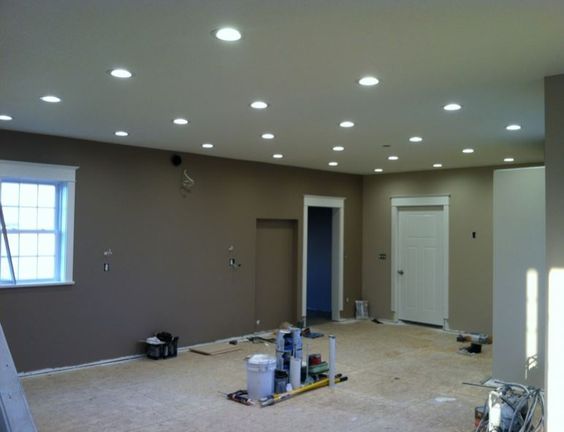
Installing LED recessed lights in your ceiling can significantly enhance the lighting quality of any room, providing a sleek and modern look. This guide will walk you through the steps necessary to safely and effectively install LED recessed lights.
Tools and Materials Needed
- LED recessed light kit
- Measuring tape
- Pencil
- Stud finder
- Utility knife or hole saw
- Electrical wire (if needed)
- Wire stripper
- Screwdriver
- Electrical tape
- Junction box (if needed)
- Ladder or step stool
- Safety glasses and gloves
Step-by-Step Installation Guide
1. Plan Your Layout
Measure and Mark the Ceiling:
- Determine where you want to install the recessed lights. A common rule is to place them 4 to 6 feet apart and at least 2 feet away from walls.
- Use a measuring tape to mark the spots on the ceiling where each light will go. Ensure the placement avoids ceiling joists by using a stud finder.
2. Cut the Holes
Prepare the Ceiling:
- Use the provided template in your LED recessed light kit to outline the holes on the ceiling where each light will be installed.
- Carefully cut the holes using a utility knife or a hole saw of the appropriate size. Ensure you wear safety glasses to protect your eyes from debris.
3. Wiring
Turn Off Power:
- Before starting any electrical work, turn off the power to the circuit you will be working on at the main electrical panel.
Run the Electrical Wires:
- If there is no existing wiring, you will need to run new electrical wire from the power source (such as a junction box) to each hole. Feed the wire through the holes in the ceiling.
Connect the Wiring:
- Strip the ends of the wires using a wire stripper. Connect the wires from the recessed light to the corresponding wires in the ceiling using wire nuts (black to black, white to white, and green or bare copper to ground).
Secure the Connections:
- Wrap electrical tape around the wire nuts for extra security. Ensure all connections are tight and there are no exposed wires.
4. Install the Light Fixtures
Attach the Housing:
- Depending on your light kit, the housing may need to be attached to the ceiling joists or simply pushed into place in the cut hole. Follow the manufacturer’s instructions for your specific model.
Insert the LED Light:
- Once the housing is secure, insert the LED light into the housing. Some models have clips that hold the light in place, while others may require screws.
5. Complete the Installation
Secure the Trim:
- Attach the trim or baffle to the light fixture, giving it a finished look. The trim usually snaps into place.
Test the Lights:
- Restore power to the circuit at the main electrical panel. Turn on the switch to test the lights. Ensure they are working properly and that there are no flickering or dim areas.
Frequently Asked Questions (FAQs)
1. Can I install LED recessed lights in a drop ceiling?
Yes, LED recessed lights can be installed in a drop ceiling, but you will need to use special brackets or supports designed for drop ceiling installations.
2. Do I need a junction box for each recessed light?
Some recessed light kits come with built-in junction boxes, while others require a separate junction box for each light. Check the manufacturer’s instructions for your specific model.
3. What size hole do I need to cut for my recessed lights?
The size of the hole will depend on the specific recessed light fixture you are using. Typically, the manufacturer will provide a template or the dimensions for the hole.
4. Can I install recessed lights on a dimmer switch?
Yes, but make sure the LED lights and the dimmer switch are compatible. Some LEDs require specific dimmer switches designed for LED lighting.
5. How do I maintain my recessed LED lights?
LED lights require minimal maintenance. Periodically check to ensure the fixtures are secure and clean the trims and lenses to keep the light clear and bright.
Installing LED recessed lights in your ceiling is a manageable DIY project that can greatly improve the lighting and aesthetics of your space. By following these steps and taking necessary safety precautions, you can achieve a professional-looking installation. If you are unsure about any part of the process, consider consulting with or hiring a licensed electrician to ensure a safe and proper installation.


 NO 8 Building,Yanluo Street,